Author name: Matthew Tyler

Limestone Kitchen Floor Renovation South Ockendon

Dirty Limestone Kitchen Floor Cleaned, Polished and Sealed in South Ockendon

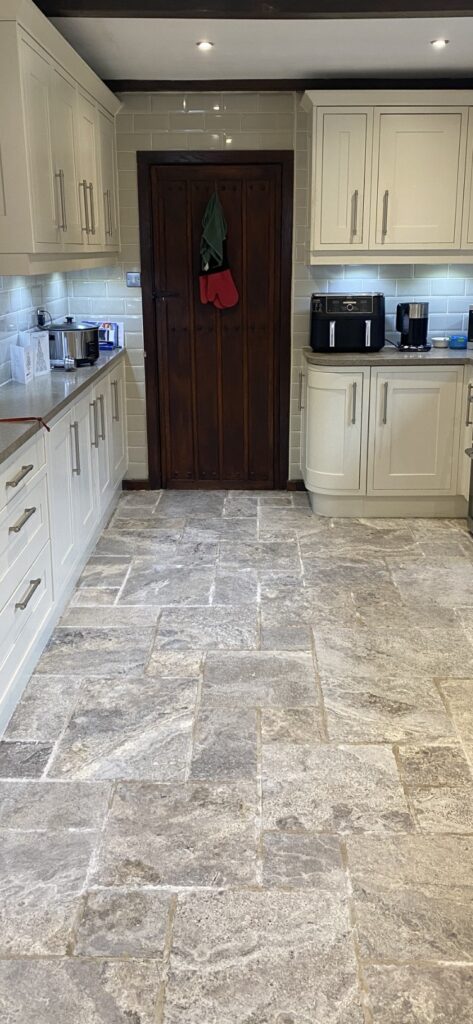
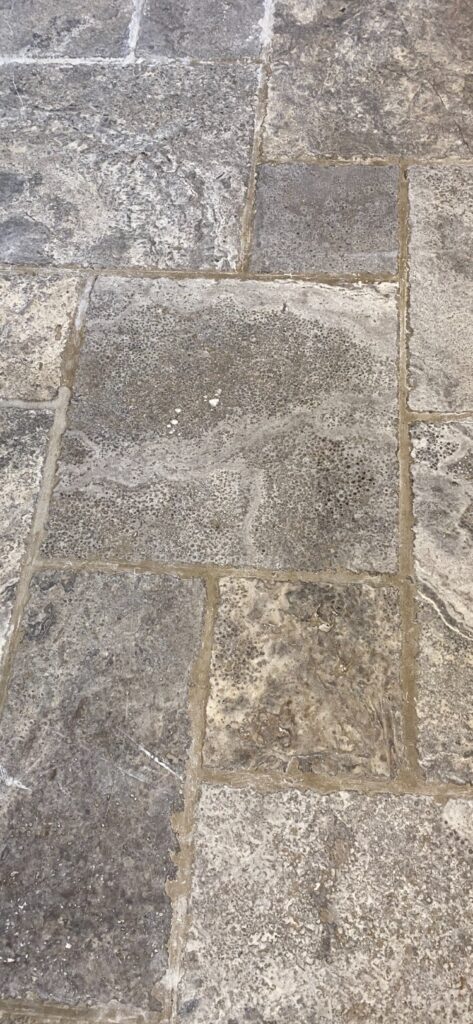
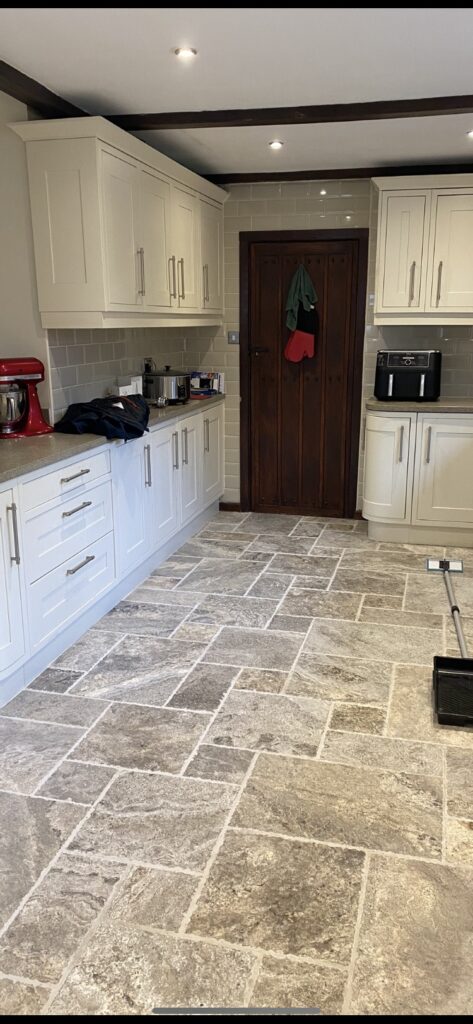
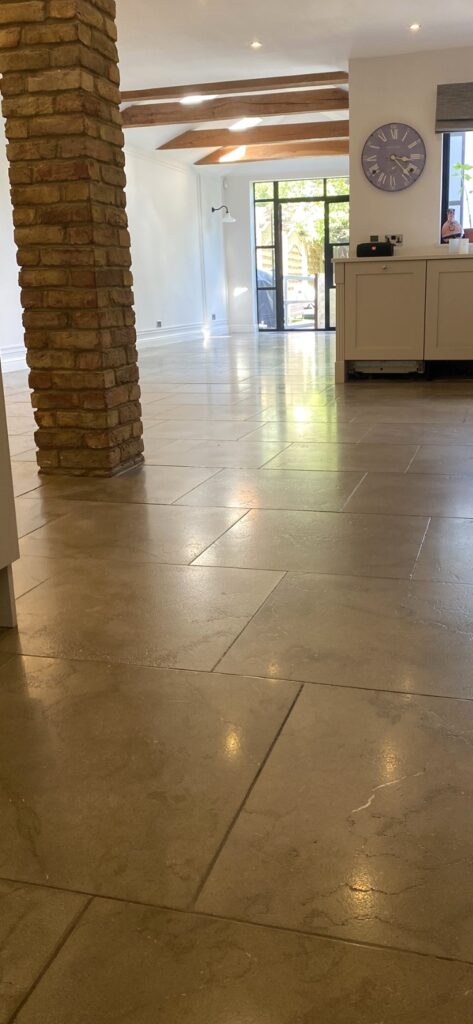
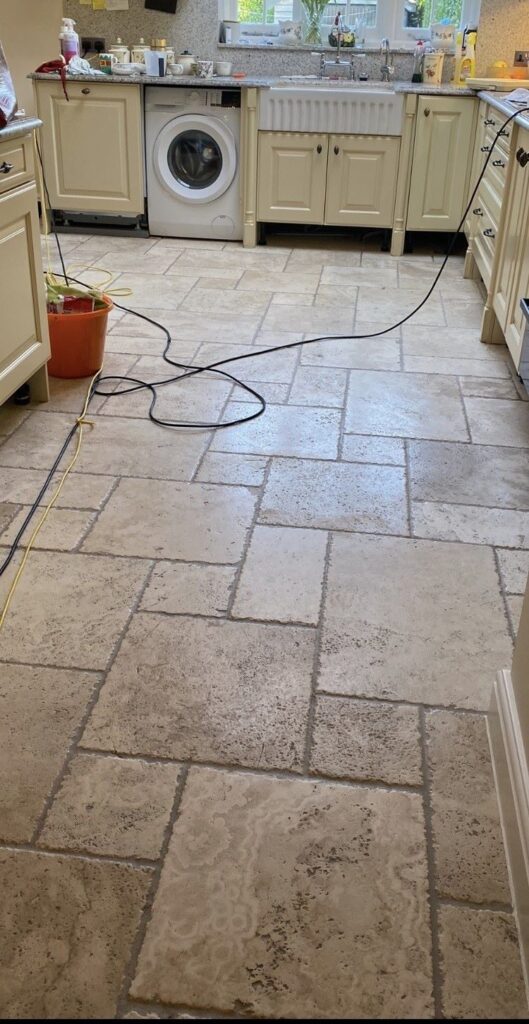
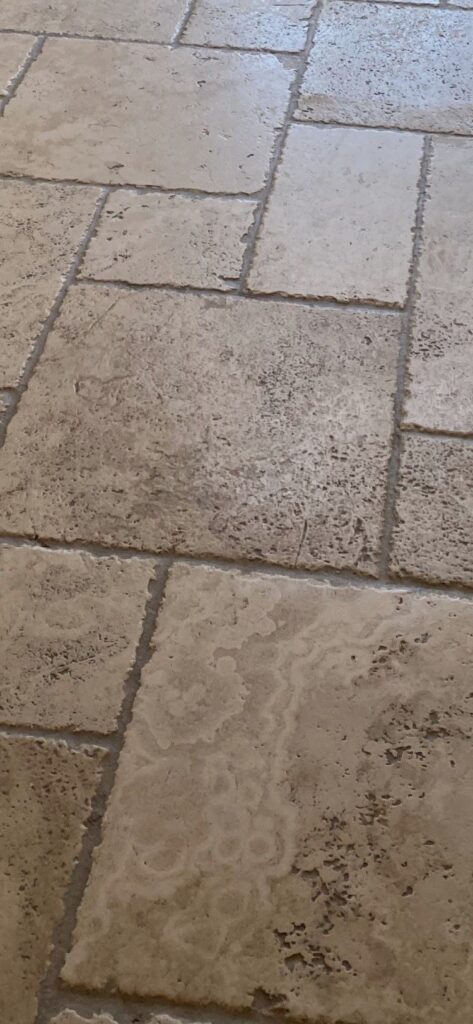
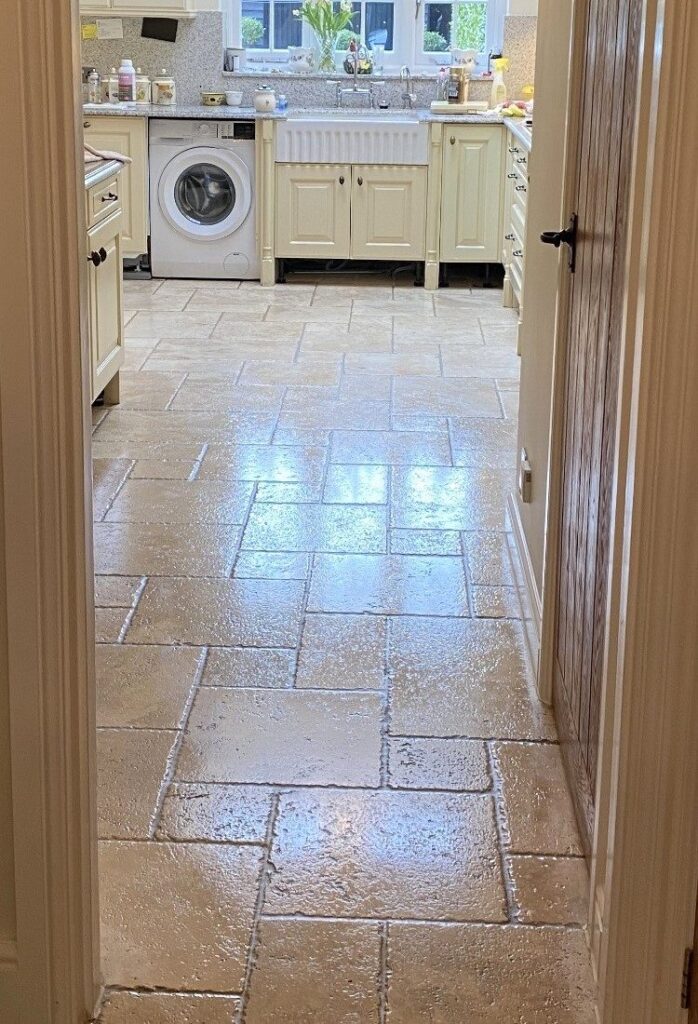
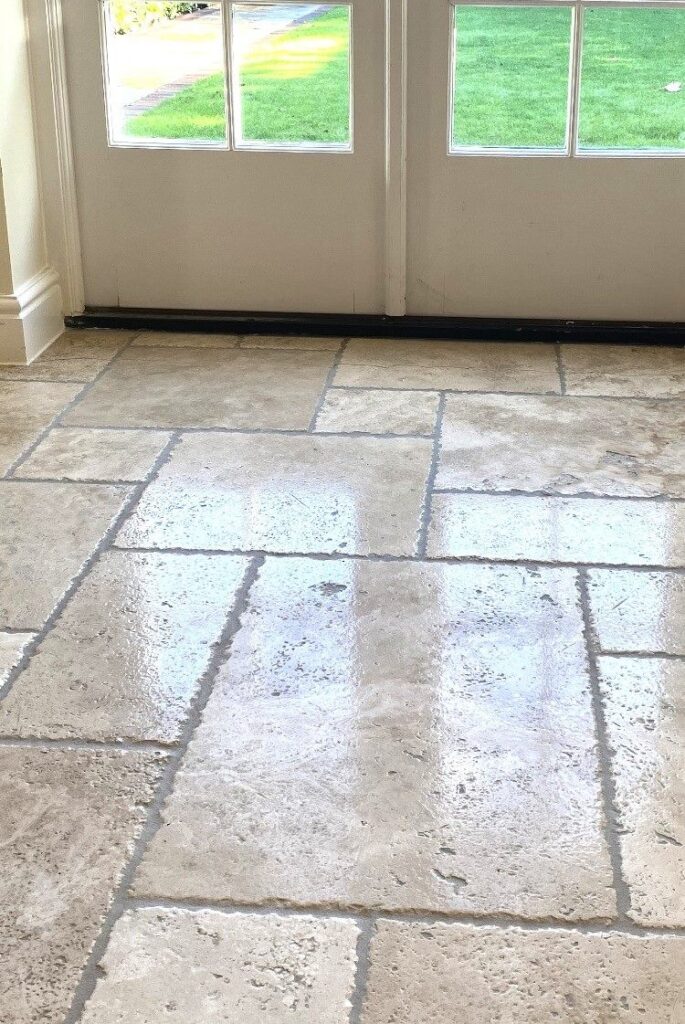
Pictures below of another Limestone floor that I recently renovated, this time in the open plan kitchen and dining area of a home in South Ockendon. Originally installed over ten years ago it had never been sealed and over time dirt had worked its way into the stone leaving it looking dull and flat.

Limestone Kitchen Floor Before Cleaning South Ockendon

Stone floors need to be sealed if you want them to look their best, sealing ensures the dirt remains on the surface where it can be easily cleaned away. Sealers can also enhance the appearance of the stone and improve colour; the only downside is they do wear off with use but a good sealer can last three years or more if maintained correctly.

I went over to the property to survey and measure the floor to be able to give them an accurate quote for deep cleaning, polishing and then sealing the stone. I could see it would be a straight-forward job with little complications so I worked out a quote based around two days work and products needed to bring the Limestone back to life.

Cleaning and Polishing a Limestone Tiled Floor

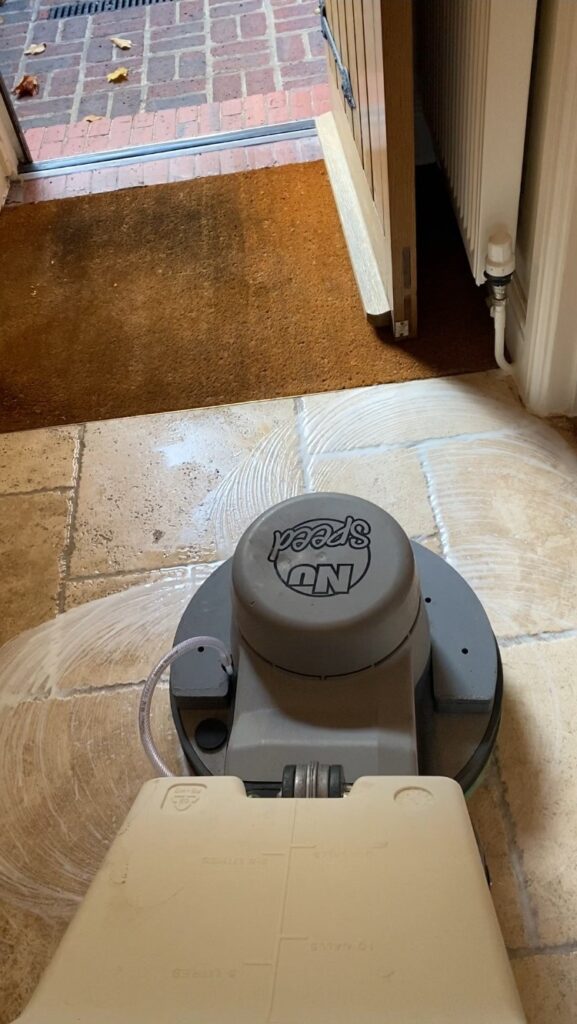
The cleaning process was a repeat of a similar job I recently completed in Leigh-on-Sea and involved cleaning out all the dirt trapped in the pores of the stone by working in a 1:4 dilution of Pro-Clean using a coarse 200-grit pad. These coarse pads are fitted to a buffing machine and run over each tile several times to open up the pores of the stone allowing the dirt to be flushed out, they also remove minor scratches, sealers, and ingrained dirt.

Limestone Kitchen Floor During Cleaning South Ockendon

The floor was then rinsed and soiling extracted with a wet vacuum before applying the next coarse pad which was a 400-grit. This process was then repeated with a medium 800-grit and fine 1500-grit pad which close the pores and refine the appearance of the Limestone.

Next step was to scrub the grout lines using more Tile Doctor Pro-Clean. I find this is best done by hand as the pads struggle to reach into the recesses of the grout line. Once done the floor was rinsed and extracted several times to neutralise the floor and remove any trace of product.

The floor was then left to dry off and I returned a few days later to give the floor plenty of time to dry.

Sealing Limestone Floor Tiles

On my return I started with the application of an extra fine 3000-grit burning pad, this is applied dry to the floor using only a little water sprayed onto the tile a process we call a Spray Burnish. It leaves the floor nice and dry and is the last step in the polishing process leaving the stone with a nice subtle sheen.

As mentioned earlier sealers protect the floor and some will improve colour and for Limestone, I find Tile Doctor Colour Grow works well. The product contains a colour enhancing formula that really brings out the best in Limestone. Its also an impregnator which works by occupying the pores in the stone thus preventing dirt from becoming ingrained there. Only two coats of Colour Grow were needed to fully seal the stone.

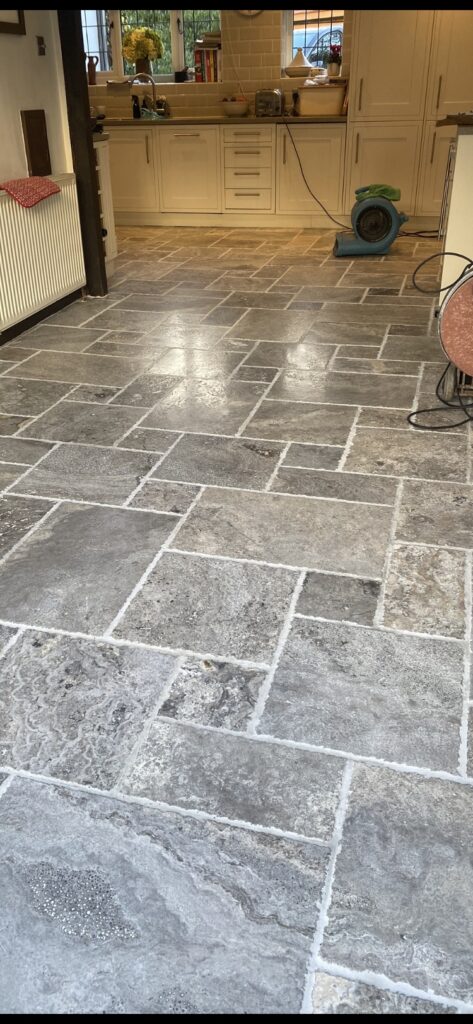
Limestone Kitchen Floor After Cleaning Polishing South Ockendon

The Limestone floor responded well to the process transforming the space from dull and un-inspiring to one that was very appealing and inviting. The stone and grout looked so much lighter and cleaner with a subtle polish that made the owners very happy.

For the aftercare cleaning of a polished stone floor like this we recommend using Tile Doctor Stone Soap. It’s a gentle yet effective cleaner that helps maintain the patina and won’t damage the sealer ensuring it lasts a long time.


Professional Limestone Floor Cleaning and Polishing in Essex

Dirty Limestone Kitchen Floor Cleaned, Polished and Sealed in South Ockendon Read More »
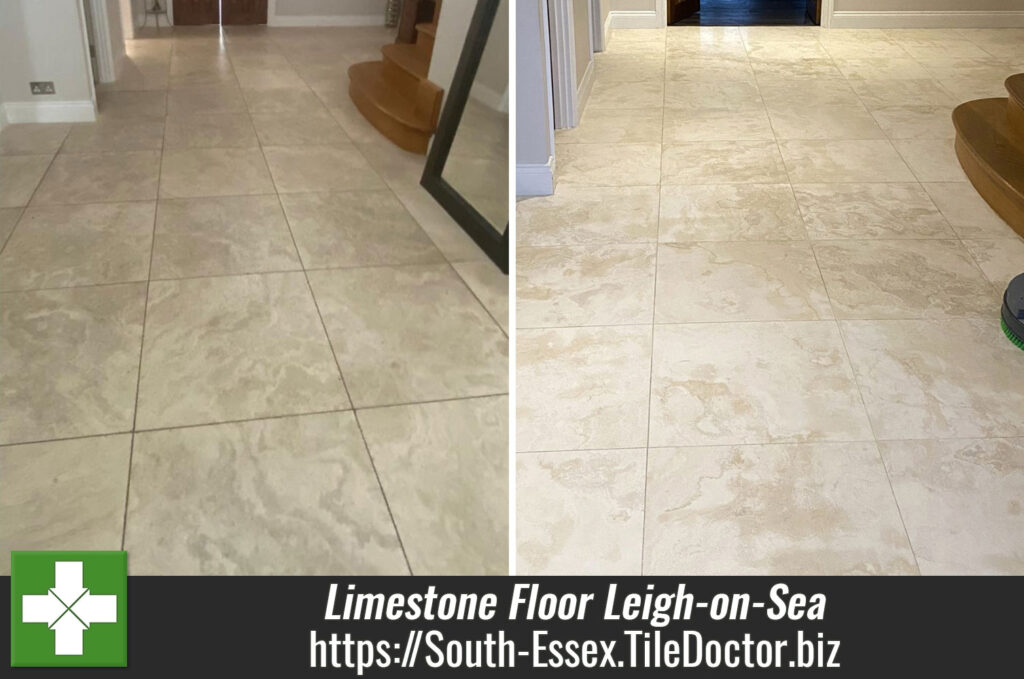
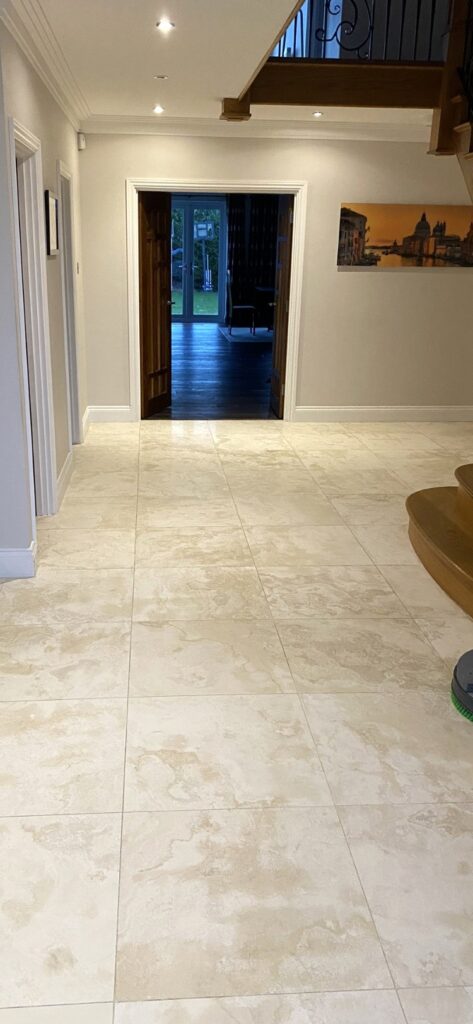
Limestone Hallway Floor After Renovation Leigh-on-Sea

Renovating a 12-Year Old Limestone Hallway Floor in Leigh-on-Sea

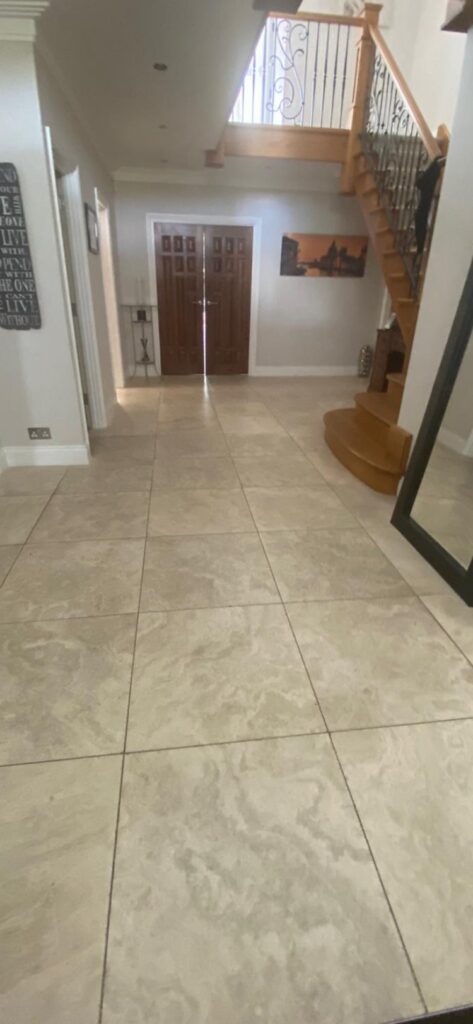
The Limestone floor in the picture below was actually installed by the homeowner in the hallway of their property in Leigh-on-Sea twelve years ago. They had managed to do a good job maintaining it however overtime dirt had accumulated in the pores of the stone and they realised it was time to have it professionally cleaned.

Limestone Hallway Floor Before Cleaning Leigh-on-Sea

I visited the property to survey the floor and provided them with a quote to deep clean the Limestone tile and grout, hone the stone to bring up the polish and then seal to protect it going forward. Happy with the quote we set a date for my return.

Cleaning and Polishing a Limestone Tiled Floor

On arrival the first task was to clean out all the dirt trapped in the pores of the stone. To do this I ran a coarse 200-grit pad over the floor assisted with a dilution of Tile Doctor Pro-Clean. The coarse pads are fitted to a buffing machine and run over each tile several times to remove minor scratches, sealers, and ingrained dirt.

The floor was then rinsed and soiling extracted with a wet vacuum before applying the next coarse pad which was a 400-grit. This process was then repeated with a medium 800-grit and fine 1500-grit pad which are the first stages in bringing up the polish on the Limestone.

Next step was to scrub the grout lines using more Tile Doctor Pro-Clean. I find this is best done by hand as the pads struggle to reach into the recesses of the grout line. Once done the floor was rinsed and extracted several times to neutralise the floor and remove any trace of product.

The floor was then left to dry off overnight.

Sealing a Polished Limestone Tiled Floor

The next day I gave the tiles a spray burnish using an extra fine 3000-grit burning pad, this is applied dry to the floor using only a little water sprayed onto the tile. It leaves the floor nice and dry and is the last step in the polishing process.

To get the best out of the colour in the Limestone I recommended sealing it with Tile Doctor Colour Grow, which as its name implies contains a colour enhancing formula. Its also an impregnator which works by occupying the pores in the stone thus preventing dirt from becoming ingrained there. Two coats were applied and this ensures dirt remains on the surface where it can be easily removed with regular cleaning.

Limestone Hallway Floor After Cleaning Sealing Leigh-on-Sea

Once done the Limestone tile and grout looked so much lighter and cleaner making the owners very happy. For the aftercare cleaning of a polished stone floor like this we recommend using Tile Doctor Stone Soap. It’s a gentle yet effective cleaner that helps maintain the patina and won’t damage the sealer ensuring it lasts a long time.


Professional Limestone Floor Polishing in Essex

Renovating a 12-Year Old Limestone Hallway Floor in Leigh-on-Sea Read More »
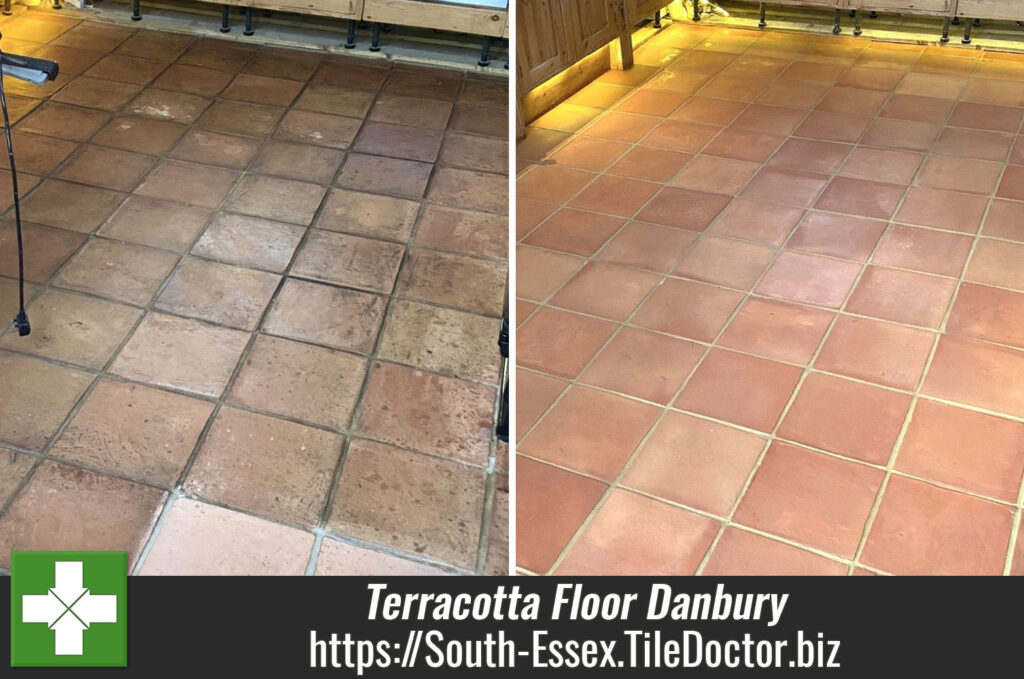
Terracotta Floor Renovation Brentwood

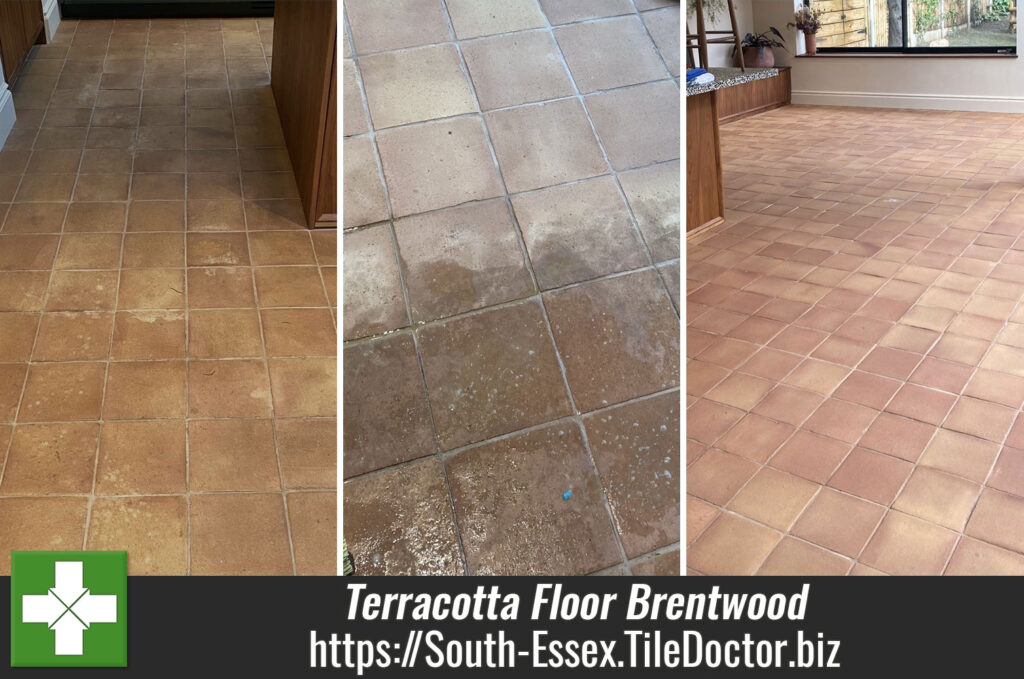
Sticky Linseed Oil Removed from a Terracotta Kitchen Floor in Brentwood

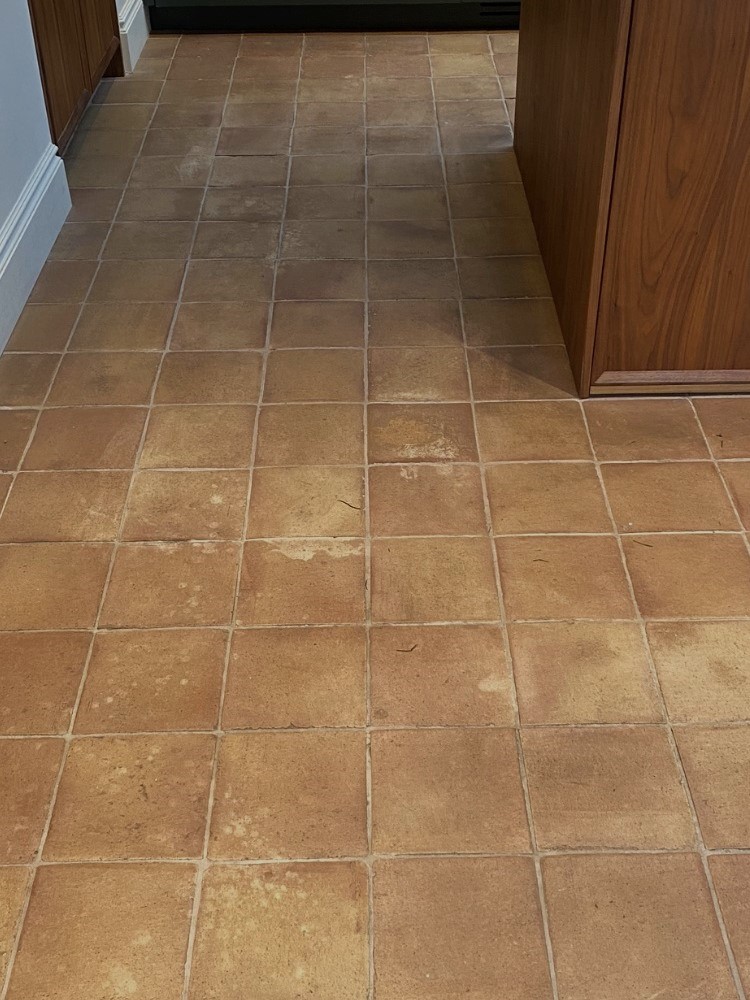
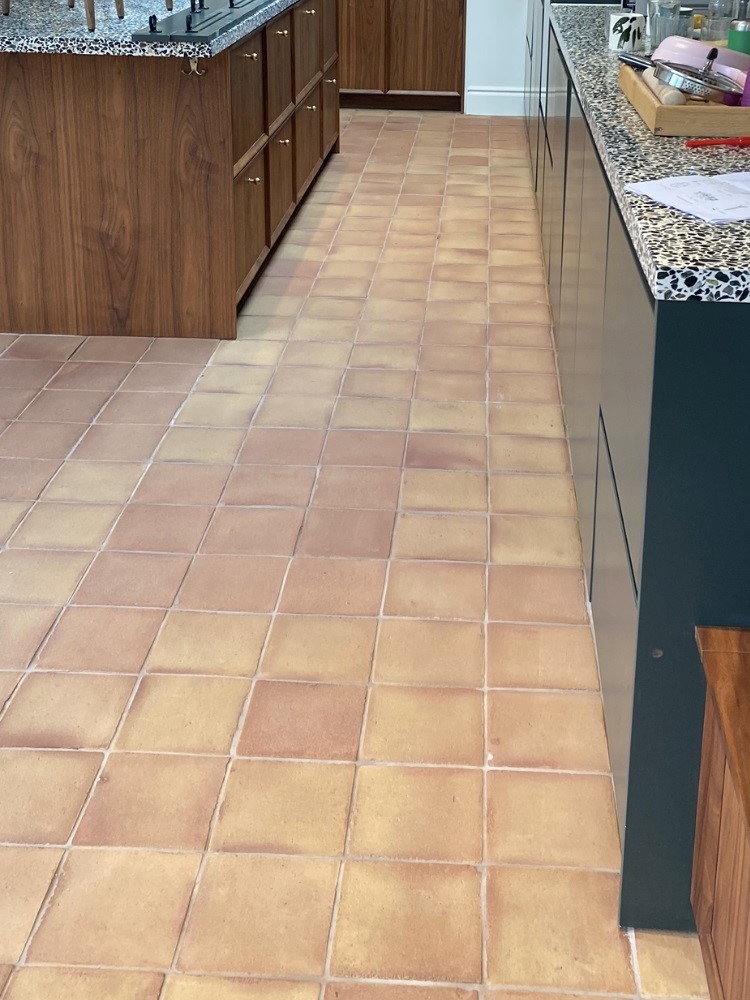
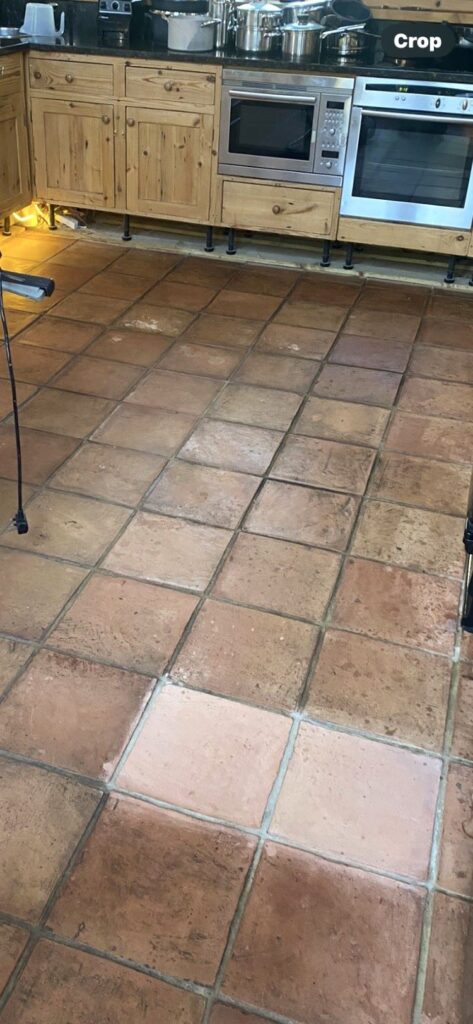
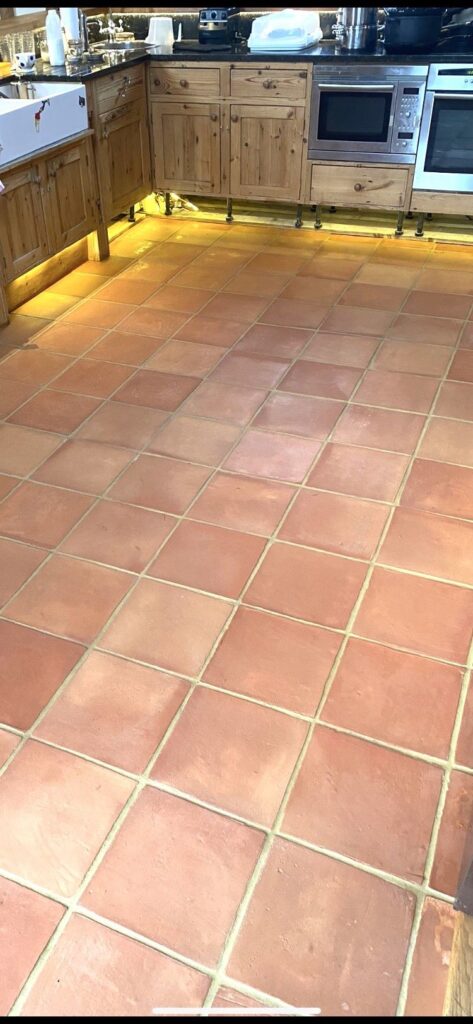
This is a Terracotta tiled floor at a property in Brentwood that had been recently installed. Unfortunately, the tilers decided to seal the terracotta with a linseed-based sealer that hadn’t gone off and was still tacky to the touch causing it to trap dirt. I suspect they simply put too much down; however, I was surprised they used linseed as this is a very old-fashioned method of sealing terracotta when modern sealers offer far better performance.

Terracotta Floor Before Cleaning Brentwood

The solution I offered was to strip the linseed off the floor, give the tiles a good clean and then re-seal with a modern based sealer designed for the job. Happy with my quote and relieved the problem could be resolved, we agreed a date to complete the work.

Cleaning a Terracotta Tiled Kitchen

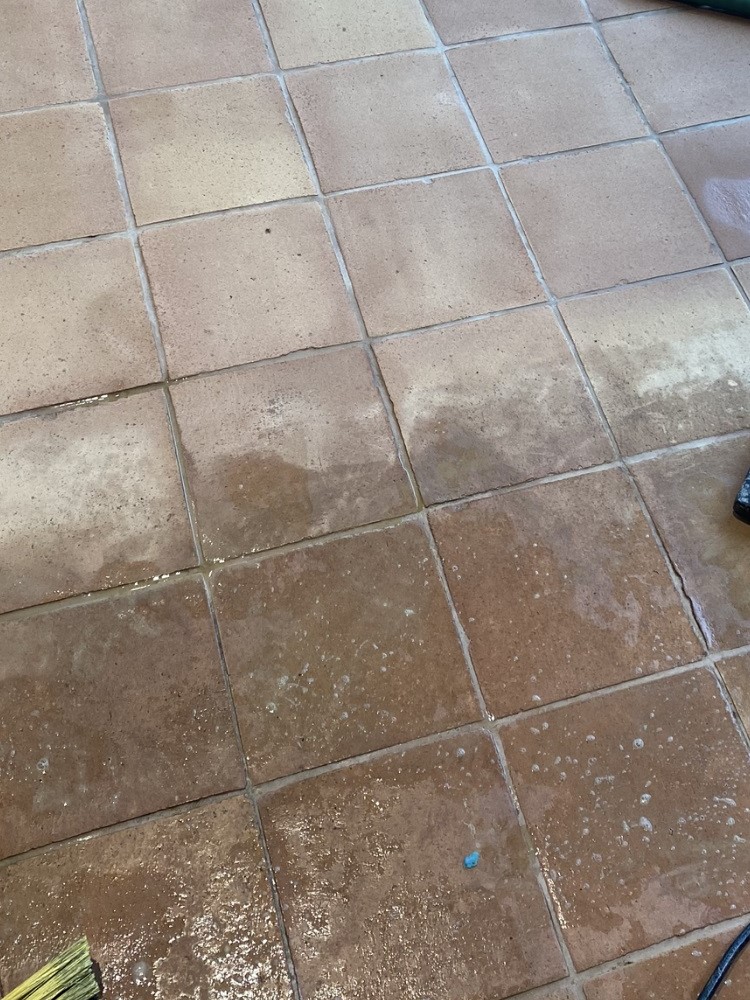
To strip off the Linseed Oil I applied a strong dilution of Tile Doctor Remove and Go which is a powerful alkaline coatings remover. It was left to work breaking down the linseed for about ten minutes and then scrubbed in using a rotary machine fitted with a black 17″ pad. The soiling was then rinsed away with water extracted using a wet vacuum. This process had to be repeated several times before the floor was clear and I used several pads in the process.

The grout was then hand scrubbed using Tile Doctor Pro-Clean, these were small terracotta tiles so there was a lot of grouting to cover. Afterwards the soiling was rinsed off and extracted as before using the wet vacuum.

The last step in the cleaning process was to give the floor an acid rinse using a dilution of Tile Doctor Grout Clean-Up. It was scrubbed in with a deck brush to remove excess grout smears and neutralise the pH level of the floor following the use of alkaline cleaners. Once done it was rinsed away and extracted as before.

Terracotta Floor During Cleaning Brentwood

Sealing a Terracotta Tiled Kitchen

I left the floor to dry out for a couple of days, before returning to apply a new sealer which for this floor we had chosen Tile Doctor Colour Grow. This is an impregnating sealer that soaks into the pores of the tile preventing dirt from becoming lodged there and thereby protecting it from within. Colour Grow as its name suggests includes a colour enhancing formula that improves the lovely orange/red colours so ideal for Terracotta.

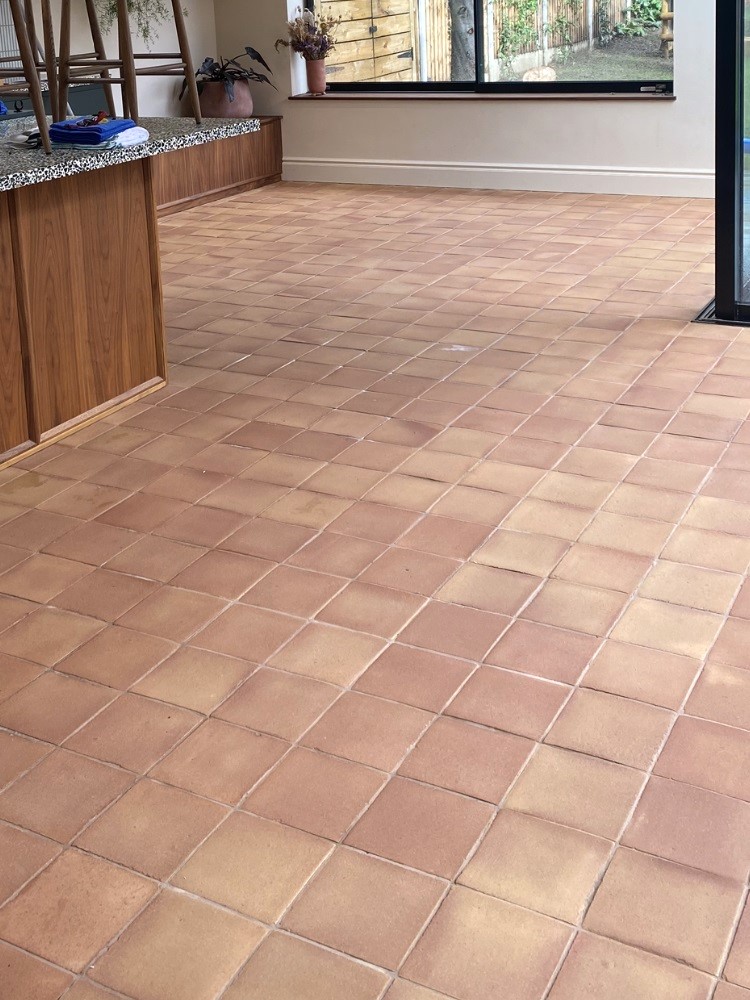
Made from clay, Terracotta is a porous material and so does need quite a few coats before its fully sealed. For this floor I needed to apply give coats of Colour Grow, allowing for each coat to dry before applying the next. This is a low sheen sealer which will give the floor a much more hardwearing surface and it really brought out the natural colours in the Terracotta.

Terracotta Floor After Renovation Brentwood

My client was very happy with the difference and left the following 5-star review.

“Matthew was a pleasure to work with and did a fantastic job on a tricky terracotta renovation.”

For aftercare I recommended the use of Tile Doctor Neutral Tile Cleaner, which is a pH neutral tile cleaner, it’s a gentle yet effective product that won’t impact the sealer.

Terracotta Floor After Renovation Brentwood


Professional Restoration of a Terracotta Tiled Kitchen Floor in Essex

Sticky Linseed Oil Removed from a Terracotta Kitchen Floor in Brentwood Read More »
Travertine Kitchen Floor Renovation Gidea Park Romford

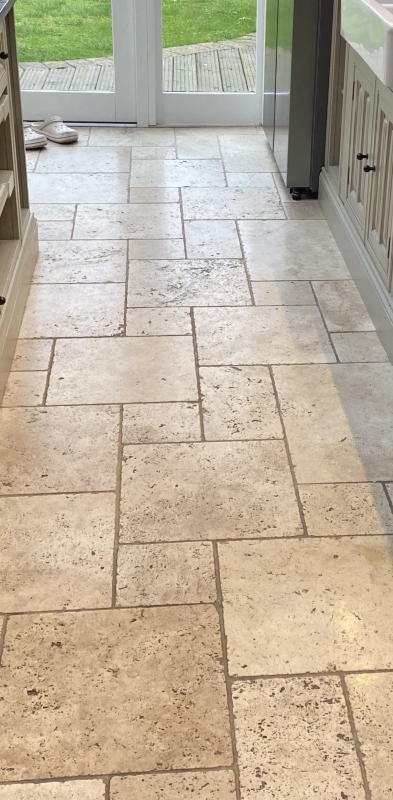
Dirty Travertine Kitchen Floor Tiles Renovated in Gidea Park Romford

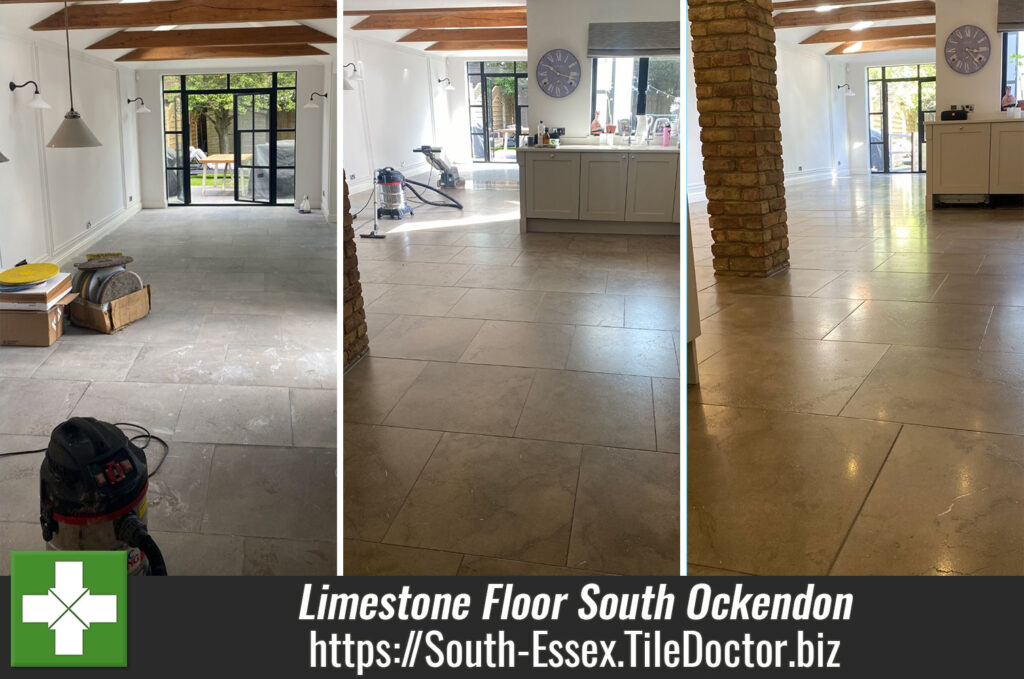
These photographs are of a Travertine kitchen floor at a property in Gidea Park near Romford. The floor was approximately 20m2 and had been laid 20 years ago. Although it had been sealed the client had been cleaning the floor with the wrong products and that had stripped the sealer off the floor. As a result, dirt had become ingrained into the pores of the stone making it look very dirty.

Travertine Kitchen Floor Before Cleaning Gidea Park Romford Travertine Kitchen Floor Before Cleaning Gidea Park Romford

My client was so unhappy with its appearance they were seriously considering taking the Travertine tiles up and replacing it with something more manageable, as they could never get it to look clean. You can imagine their relief after I visited and advised them that the floor could indeed be recovered.

After surveying the stone floor, I worked out a plan for its renovation and provided them with a quote which they were happy to go ahead with.

Cleaning a Travertine Tiled Kitchen

I started the cleaning with the grout lines which had darkened with accumulated dirt. To do this I applied a 4:1 dilution of Tile Doctor Pro-Clean along the grout lines and left it to soak in for ten minutes. The grout lines where then scrubbed by hand until their original colour returned. Although harder work, I find this method works better than using pads with a machine as the pads can struggle to reach into the recesses of the grout lines.

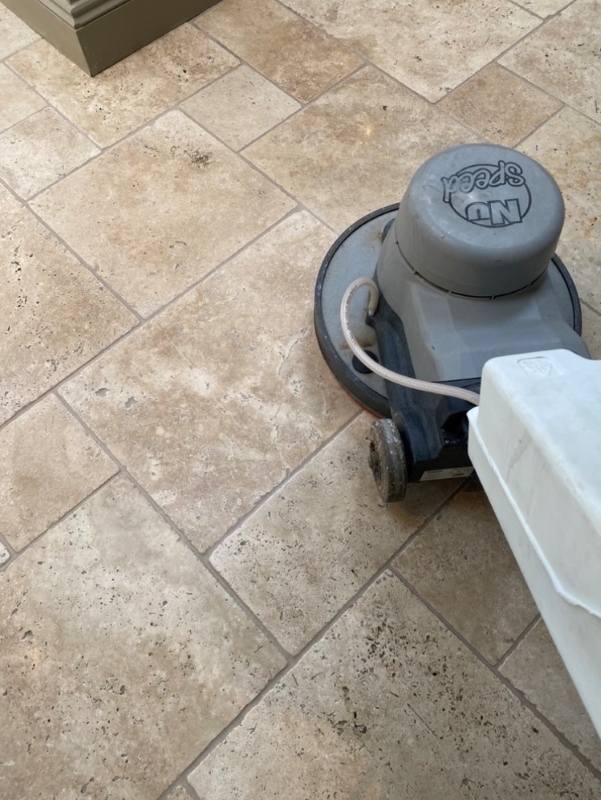
To get the ingrained dirt out of the stone and restore the beautiful appearance of the Travertine I used a set of Tile Doctor Burnishing pads. These are applied with a rotary buffing machine starting with the coarse 400-grit pad and worked into the stone with more Tile Doctor Pro-Clean.

Travertine Kitchen Floor During Cleaning Gidea Park Romford

After rinsing and extracting I then moved onto the 800 and 1500-grit pads, using only water this time for lubrication and rinsing and extracting after each pad. The last 3000-grit pad was applied with a little water sprayed onto the tiles to bring up a polish on the stone.

Sealing a Travertine Tiled Kitchen Floor

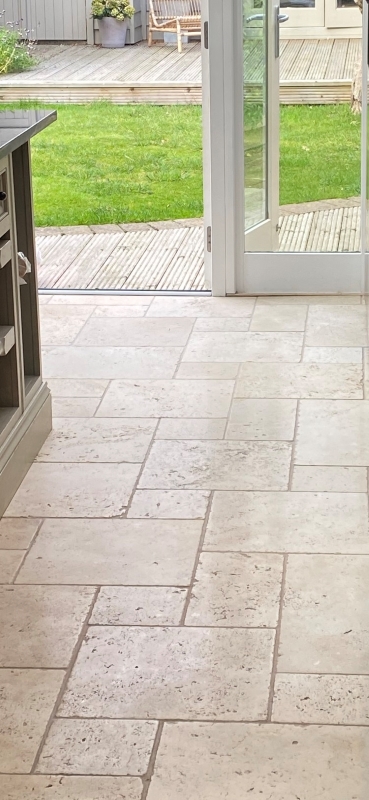
The floor was left to dry overnight, and I returned the next day to seal it using two coats of Tile Doctor Ultra-Seal sealer to give it a nice sheen. This will give the floor hardwearing protection by ensuring dirt remains on the surface where it is much easier to remove with regular cleaning.

Travertine Kitchen Floor After Renovation Gidea Park Romford Travertine Kitchen Floor After Renovation Gidea Park Romford

My client was very happy with her new floor and relieved that the new sealer would make it much easier to keep clean going forward. She also left a 5-star review and commented:

“GOOD JOB….PLEASED”

On the topic of cleaning, I recommended Tile Doctor Neutral Tile Cleaner which is a pH neutral cleaner. It will not strip the sealer like the previous products she had been using and should ensure the floor is kept in this condition for many years to come. Obviously, we are on hand in the future if she has any further problems.


Source: Travertine Kitchen Tile Cleaning and Renovation Service in Gidea Park South Essex

Dirty Travertine Kitchen Floor Tiles Renovated in Gidea Park Romford Read More »
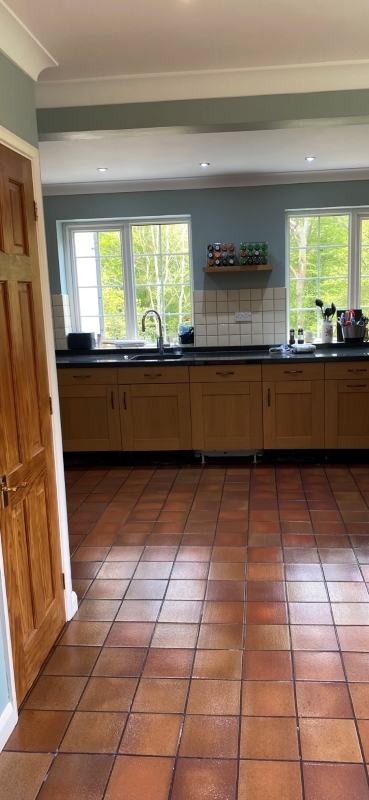
Multicoloured Slate Floor Renovation Stock Essex

New Sealer adds Life to a Dull Multi Coloured Slate Floor in Stock

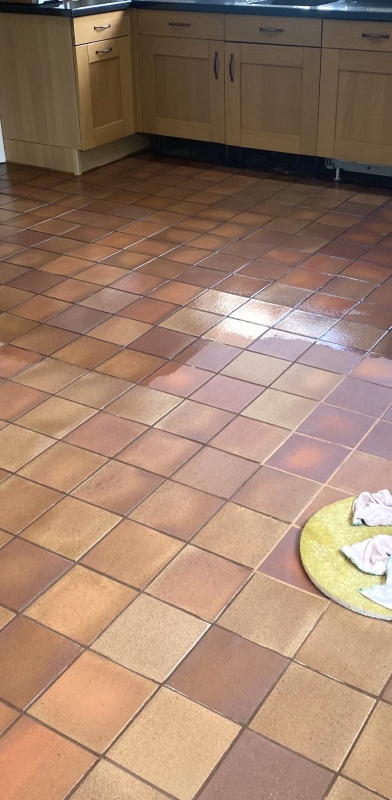
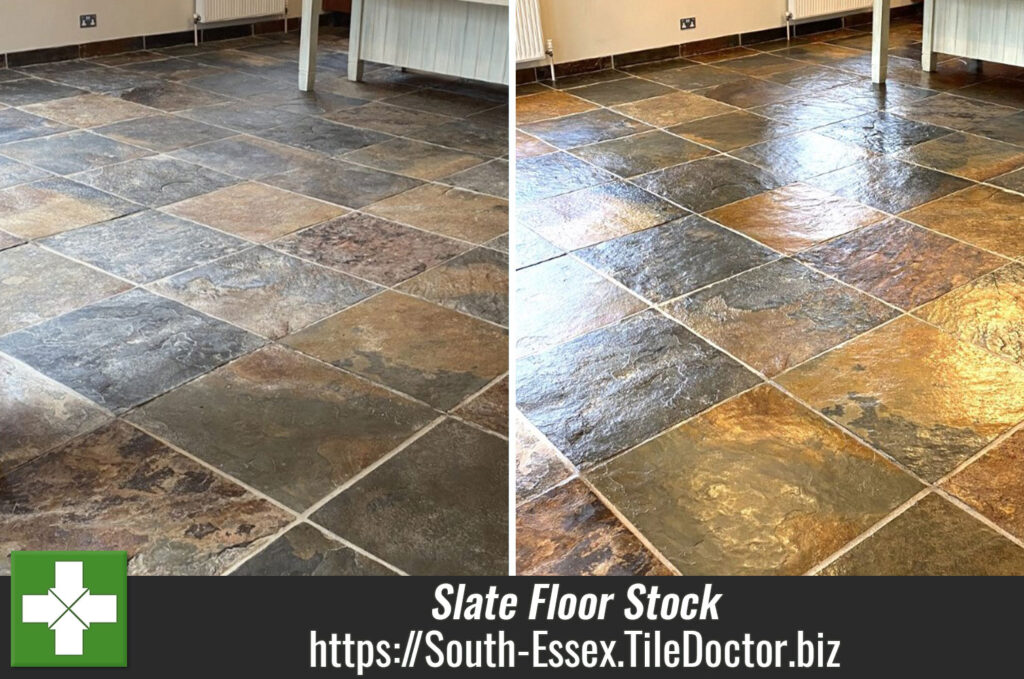
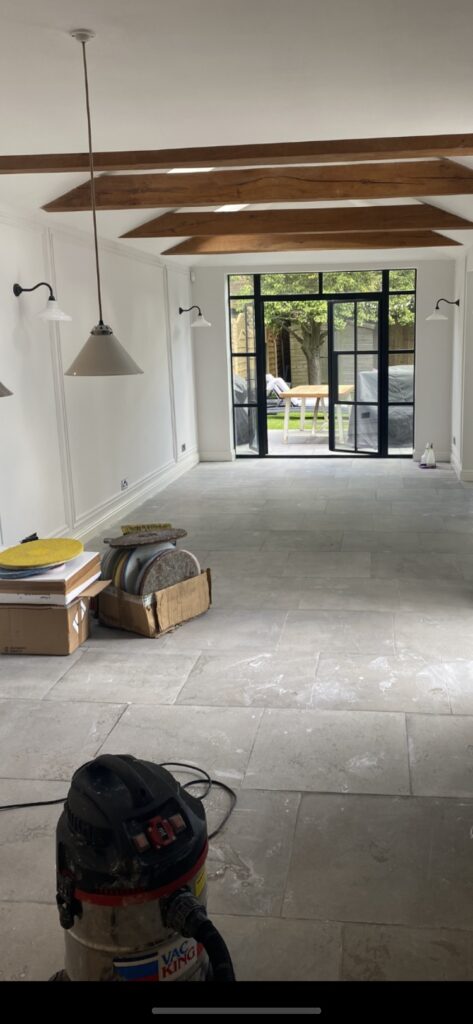
This multi-coloured Slate kitchen floor had been laid fifteen years prior and although in very good condition the owner was unhappy with the finish. Basically, it looked dull, un-inviting and the owner wanted some life putting back in the stone.

It was clear to me that the sealer that had provided previously provided the sheen finish had simply worn off with use. Without a sealer in place dirt was now becoming ingrained into the pores of the slate making the problem worse.

Multicoloured Slate Floor Before Cleaning Stock Essex

I visited the property to survey the tiles and provide a quote for renovating the floor. The work would take two days and would include removing what remained of the old sealer, deep cleaning the Slate and then re-sealing the tiles with a sheen finish sealer. The quote was accepted, and a date arranged to do the work.

Cleaning a Multi-Coloured Slate Tiled Floor

I started by applying a strong dilution of Tile Doctor Remove and Go and let it soak into the stone for ten minutes. This product is a coatings remover and cleaner that is safe to use on all type of stone or tile. Then using a 200-grit milling pad fitted to a rotary floor buffer the solution was worked into the stone to strip off what remained of the remaining sealer and pull the dirt out of the stone. The floor was then rinsed, and the soiled solution was removed using a wet vacuum.

Next, I treated the floor to an acid wash using another Tile Doctor product called Grout Clean-up. This is great for removing grout smears left over from tiling and neutralises the pH level of the floor after the use of Remove and Go which is alkaline. After scrubbing in the solution with a deck brush the floor was then rinsed and extracted again with the wet vacuum.

Sealing a Multi Coloured Slate Tiled Floor

I left the floor to dry out overnight and returned the next days later to apply the sealer. Before doing so I checked the moisture level of the tiles with a damp meter to ensure they had dried sufficiently. This is always worth doing as applying sealer to a floor that is still damp can lead to an inconsistent finish.

All was well with the readings so I started applying the first coat of sealer which for this floor we used Tile Doctor Seal & Go. This product will protect the stone from ingrained dirt and adds a lovely subtle shine to the floor which matched the customers’ requirements exactly. After about forty minutes of drying time, I applied a second cost and as expected this resulted in a healthy sheen.

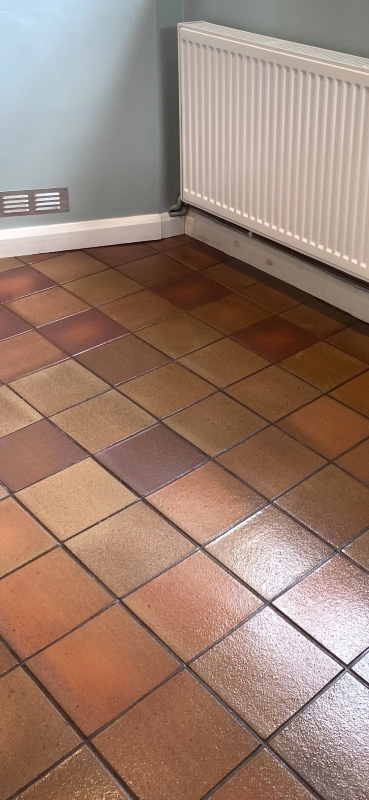
Multicoloured Slate Floor After Cleaning Stock Essex

My client was very happy with the result and left 5-star feedback along with the following comment.

Very Professional

For the aftercare cleaning of sealed slate floors, I recommend the use of Tile Doctor Neutral Tile Cleaner which is a gentle but effective product that won’t upset the sealer like many of the bleach based products you find in supermarkets.


Professional Restoration of a Multi Coloured Slate Tiled Kitchen, Hallway and WC Floor in North Lincolnshire

New Sealer adds Life to a Dull Multi Coloured Slate Floor in Stock Read More »
Scroll to Top