Chigwell Tile Cleaning

Chigwell Tile Cleaning

Welcome to my Work History archive where you will find examples of the cleaning and renovation of tiles carried out in Chigwell.

Marble Mosaic Tiled Sauna Room Floor Renovation Epping

Revamping a Marble Mosaic Tiled Sauna Room Floor in Epping

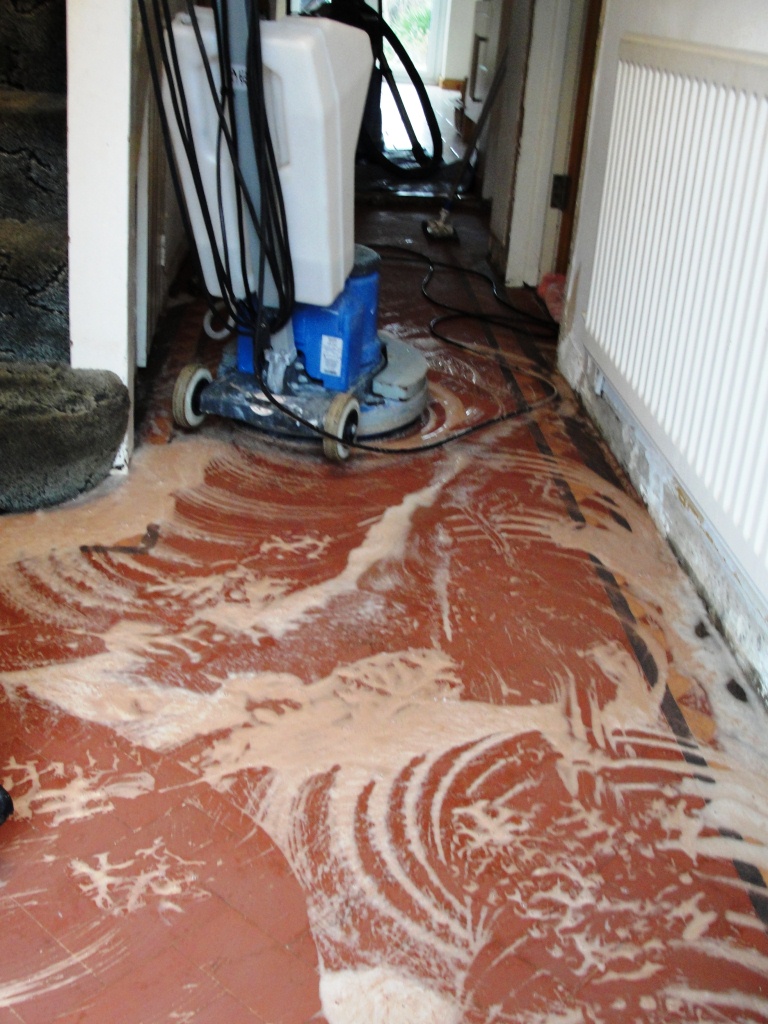
The pictures below are of a large Marble mosaic tiled Sauna room at a property in Epping. I was asked for advice regarding the mosaic tiles on the floor which had whitened and lost all their character since it was installed approximately four years ago.

Having inspected the tiles and discussed their cleaning regime it became clear that strong cleaning products had been used to clean the floor tiles and this had stripped off the sealer prematurely. The sealer which was still present on the seating added colour and depth to the Marble and there was now a stark contrast between them.

Marble Mosaic Tiled Sauna Room Before Cleaning Epping

To restore the appearance of the tiles I came up with a renovation plan that included deep cleaning and then burnishing to restore their honed appearance before re-sealing. Happy with the plan I worked out a quote which was accepted and a date set for the work to start.

Renovating Marble Mosaic Sauna Room Floor Tiles

Being a wet room and with little prep to do I was able to get to work straightaway cleaning the tiles using a 1:4 dilution of Tile Doctor Pro-Clean. This is a strong alkaline tile and grout cleaning product that’s safe to use on stone. For best results the solution was left to soak into the Marble for about ten minutes before being scrubbed in. This gives it time to breakdown the dirt and other contaminates first.

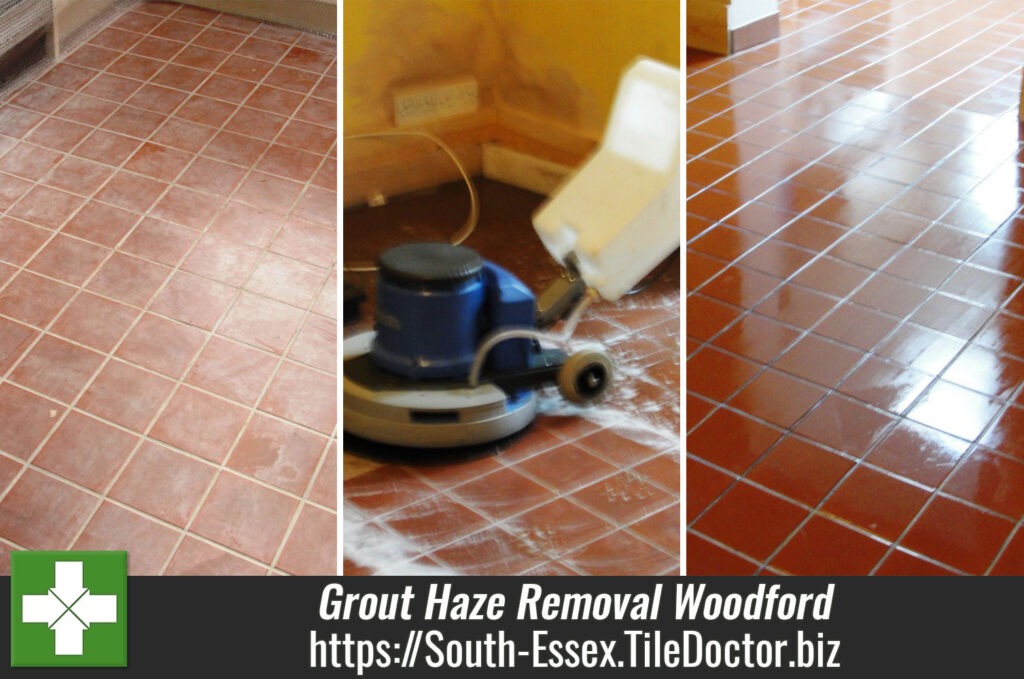
Next, I started burnishing the mosaics with the Pro-Clean worked in with a 6-inch 400-grit burnishing pad fitted to a hand-held buffer. The area was relatively small so I felt 6-inch pads would allow for a more detailed approach and cope better with the shape of the floor, corners and grout. The pad is slowly run over the mosaics several times turning the cleaning solution black in the process. The soiling was then rinsed off and the extracted with a wet vacuum.

The burnishing was then repeated with the 800 and 1500-grit pads, this time using only water to lubricate the process. These finer burnishing pads start building the polish on the mosaics and restore the honed appearance of the Marble. After each pad the soiling is rinsed off with more water and extracted with the wet vacuum.

The wet vacuum was then used to get the floor as dry as possible and then left to dry off naturally for a few hours.

Sealing Sauna Room Marble Mosaic Floor Tiles

Once dry the Marble mosaics were buffed with an even finer 3000-grit pad to achieve a semi shine before sealing, this is the last pad in the burnishing process and is applied to the tiles dry with only a little water sprayed onto the tile. This is a technique we call “Spray Burnish” and has the advantage of leaving the tiles dry.

The final step of the renovation was to seal the floor with two coats of Tile Doctor Colour Grow which is a hard-wearing impregnator that works by soaking into the pores of the stone thereby preventing dirt from residing there. The sealer will ensure dirt and water remains on the surface where it can be easily removed.

Colour grow as its name suggests contains a colour enhancer which I felt would best match the sealer that was used on the seating. The choice worked well and once complete you really couldn’t tell the difference.

Marble Mosaic Tiled Sauna Room After Renovation Epping

Before leaving I took time to discuss aftercare cleaning which was so important to ensure the mosaic tiles didn’t degrade like they had done previously. For this floor I recommended they use Stone Soap which is a gentle but effective floor cleaner that contains an enhancer designed to maintain the patina on polished stone.


Professional Renovation of a Marble Mosaic Tiled Sauna in South Essex

Revamping a Marble Mosaic Tiled Sauna Room Floor in Epping Read More »

Terracotta Restoration Chingford

Terracotta Tiled floor Restoration in Chingford

These photographs are from an old Terracotta tiled floor in Chingford, Essex that had been under carpet for years. The owners had removed carpet which had been glued to the tiles beneath and found this lovely floor which they wanted to restore as an original feature. As you can see it was in a bad state and needed some work on it.

Terracotta Tiles in Chingford Before Cleaning

Remove Grout Haze and Cleaning Terracotta Tiles

We started by giving the floor a deep clean with Tile Doctor Pro Clean which was left to dwell on the floor for ten minutes before working it into the floor using a scrubbing machine fitted with a black pad. I knew this wouldn’t resolve all the problems but it was a good start and would show what was going to be removed easily.

As expected there were a number of stubborn areas including the surface glue especially around the edges which needed to be tackled with a stronger product so the next step was to apply Tile Doctor Remove and Go which as the name suggests is a coatings remover that will remove almost anything and is safe to use on tiles. Hand scrapers were used along the edges of the floor and although the area was relatively small it took a long time to remove all the various contaminants.

Another issue we found was grout haze on the surface of the tile and for that we need to apply Tile Doctor Grout Clean-Up which was applied to the tile surface and scrubbed in with black scrubbing pads.

Terracotta Tiles in Chingford During Cleaining

Once satisfied the haze was removed we washed the floor down three times with water to remove any residue using a wet vacuum to pick up the slurry and suck any remaining liquids from the floor to allow it to dry quicker..

The floor turned out to be quite acceptable to customer who was happy with the results. They were going to seal the floor themselves once all the decorating had been completed.

Terracotta Tiles in Chingford After Cleaning


Restoring Terracotta tiled floor in Essex

Terracotta Tiled floor Restoration in Chingford Read More »

Grout Haze Removal Woodford

Grout Haze Removal from a new Quarry Tiled floor in Woodford, E18

These photographs are from a recently laid Quarry tiled floor in Woodford. East London where the tiler had smothered the tiles with grout and left it on the surface too long where it had then dried and he was unable to remove it. Unable to rectify the problem the Quarry tiles were then sealed, I suspect this was in an attempt to improve the look of the floor which unfortunately left it looking quite the opposite.

Quarry Tiles with Grout Haze

Remove Grout Haze and Cleaning Quarry Tiles

Undeterred by the state of the floor which we were confident could be put right we took the job on. The first step was to remove the sealer by using a strong dilution of Tile Doctor Pro-Clean mixed 3 parts water to 1 part Pro-Clean. This was left to dwell on the tile surface for ten minutes before scrubbing with black pads fitted to a rotary scrubbing machine.

Removing Grout Haze

Once we were happy the sealer had been removed we could tackle the Grout Haze with Tile Doctor Grout Clean-Up. It’s applied to the tile surface and again scrubbed in with black scrubbing pads. There was a lot of grout haze so the processes had to be repeated; all the edges were done on hands and knees with small doodle bug pads. Once the haze was removed we washed the floor three times with water to remove any residue.

Quarry Tile During Cleaning Quarry Tiles with Partial Grout Haze

The dirty solution was removed using a wet vacuum and the floor was rinsed three times to remove the residue and neutralise it, the floor was then left for 48 hours to allow it dry fully prior to sealing.

Sealing Quarry Tiles

When we returned we sealed the Quarry tiles using Tile Doctor Seal and Go which is recommended for sealing quarry tiles and give’s a nice low sheen effect. Five coats of sealer where needed in total which took some time to apply as you have to let the sealer dry before applying the next coat.

Quarry Tiles Cleaned and Sealed

The result was a very satisfied customer.


Grout haze removed from new Quarry tiles in East London

Grout Haze Removal from a new Quarry Tiled floor in Woodford, E18 Read More »

Saltillo Terracotta Abridge Essex

Saltillo Terracotta Tiled Floor Cleaned and Sealed in Abridge

Pictures below of a job we did cleaning and re-sealing a 25m2 Saltillo Terracotta tiled floor installed in the kitchen of a house on a working farm outside Abridge, Essex. The owner had been applying coats of sealer for the last 10 years or so and over the course of time a bad build-up of layers of sealer had occurred causing and un-even and darkening effect on the tile (see picture below).

Saltillo Terracotta Floor Before

Cleaning Saltillo Terracotta Tile

Removing the old sealer to get back to the bare Terracotta surface was incredibly hard work, normally we can get most of the sealer off with a strong dilution of Tile Doctor Pro-Clean but in this case something a lot stronger was required so we applied Tile Doctor Remove and Go (which is a coatings remover designed for taking off sealers and other coatings from tile) mixed 50/50 with Nano Tech Ultra-clean which adds tiny abrasive particles to the mix. We applied the resulting solution and let it soak in for 30 minutes before tackling it with scrubbers and a steamer, gradually over the course of three days we managed to remove all of the sealer. We rinsed the Terracotta down with clean water to remove any trace of chemical and neutralise the floor before sealing and then left it to dry out.

Saltillo Terracotta Floor After Cleaning

Sealing Saltillo Terracotta Tile

We left the floor for 10 days to dry out and came back to seal it using two coats of Tile Doctor Colour Grow which is a colour enhancing sealer that protects the tile as well bringing out the natural colour in the tile.

Saltillo Terracotta Floor Part Sealed

I left the floor to cure overnight, and came back the next day to finish sealing with Tile Doctor Seal and Go, Seal and Go is a water based sealer so it doesn’t give off an odour when it’s drying and also offers durable stain protection together with a low sheen finish. In the end the floor actually took seven coats of Seal and Go before it was fully sealed, this naturally took a long time to apply as you have to wait for it to dry before applying the next coat. Needless to say this was a very long job but the difference was remarkable and the owner was very happy with the result.

Saltillo Terracotta Floor After Sealing


Difficult Saltillo Terracotta Floor Cleaned and Sealed in Essex

Saltillo Terracotta Tiled Floor Cleaned and Sealed in Abridge Read More »

=================================

South Essex Tile Doctor

================================= Read More »

Scroll to Top